Nock On Arrow Wraps
Socx
$27.99
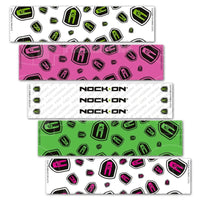
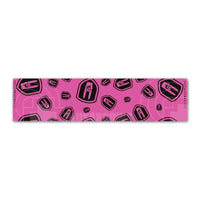
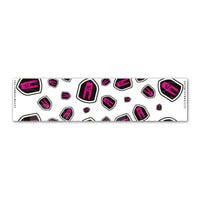
With our Nock On Arrow Wraps, you can enjoy the benefits of vane adhesion without risking damage to the carbon shaft. Constructed from durable, premium materials and tested by professional archers, each set contains 12 wraps for reliable performance.

- Scatter Wrap: length 120mm, width 25mm
HOW TO APPLY ARROW WRAPS

- Remove a wrap from the backing-paper.Preferably use a knife, not your fingers. Greasy fingers can negatively influence the layer of glue. wash hands before wrapping.
- Align the wrap with the application pad* with the glue layer facing upward!
- Align the arrow shaft to the wrap. Use the offset lines to get your preferred clearance from the nock. Mare sure the arrow shaft is clean before you start applying the wrap.
- Apply some pressure and slowly start wrapping the arrow wrap onto the shaft by rolling the shaft onto the wrap.
- Check the overlap of the wraps for perfect fit. Push out any pockets of air.
- Clean your wrap with a clean dry cloth, do not use solvents! your wrap is now ready to be fletched!


